

How do I create beachy waves with a curling wand?
Sep 03, 2025
Creating beachy waves with a curling wand is a popular and achievable hairstyling technique that can add a touch of effortless glamour to your look. As a curling wand supplier, I'm excited to share with you the step-by-step process to help you achieve those beautiful, tousled waves.
Preparing Your Hair
Before you start curling, it's essential to prepare your hair properly. Begin by washing and conditioning your hair with products suitable for your hair type. Towel-dry your hair gently to remove excess moisture, leaving it damp but not soaking wet. Applying a heat protectant spray is crucial to minimize damage from the curling wand. Hold the spray about 6 - 8 inches away from your hair and mist it evenly throughout, focusing on the ends.
Choosing the Right Curling Wand
The type of curling wand you choose can significantly impact the final result of your beachy waves. We offer a variety of curling wands to suit different hair types and preferences.
The Air Flow Curling Iron is a great option for those who want a quicker curling process. Its unique air flow technology helps to distribute heat evenly, reducing the time it takes to curl your hair while also minimizing damage.
If you're new to using a curling wand or prefer a more automated process, the Automatic Curling wand is ideal. It automatically wraps your hair around the barrel, making it easier to achieve consistent curls.

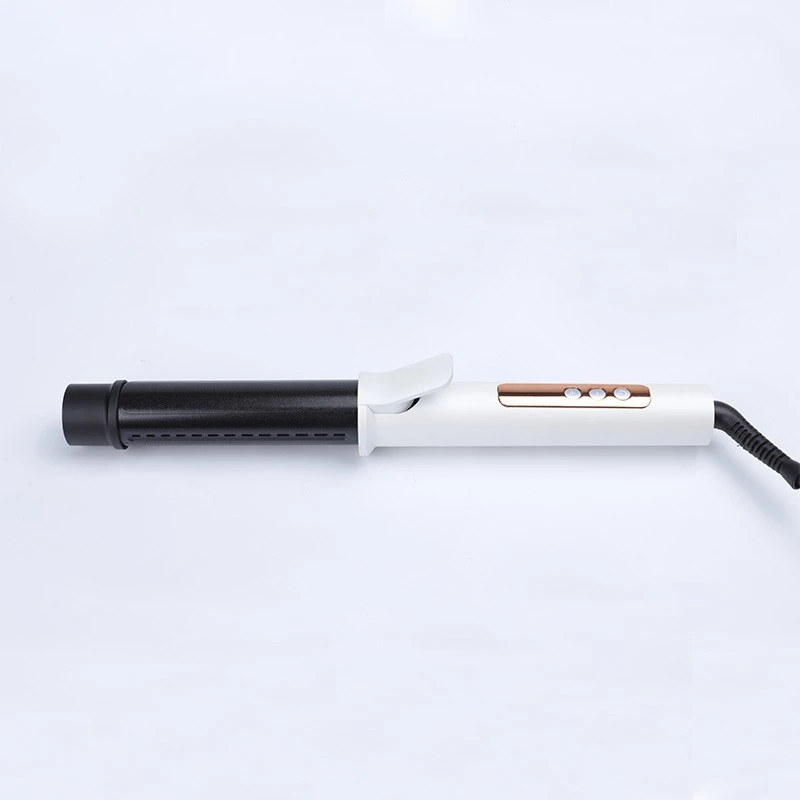
For those with thick or coarse hair, the Cooling Air Rotating Curling Wand is a game-changer. The rotating barrel and cooling air feature allow you to curl your hair without overheating it, resulting in long-lasting waves.
Sectioning Your Hair
Sectioning your hair is an important step to ensure that each section is curled evenly. Start by combing your hair to remove any tangles. Then, use a hair clip to divide your hair into three or four large sections. If you have thick hair, you may want to create more sections for better control.
Curling Your Hair
- Heat up your curling wand: Plug in your curling wand and set it to the appropriate temperature based on your hair type. If you have fine or damaged hair, use a lower temperature setting, while thick or coarse hair may require a higher setting.
- Take a small section of hair: Unclip one of the sections of your hair and divide it into smaller sub - sections, about 1 - 2 inches wide. The width of the section will determine the size of your curls. Smaller sections will create tighter curls, while larger sections will result in looser waves.
- Wrap the hair around the wand: Hold the curling wand vertically with the clamp facing down. Take a sub - section of hair and place it against the barrel of the wand, just below the clamp. Slowly wrap the hair around the barrel, starting from the ends and working your way up towards the roots. Hold the hair in place for about 8 - 10 seconds, then release it.
- Repeat the process: Continue curling each sub - section of hair in the same manner, working your way through the entire section. Alternate the direction of the curls to create a more natural look. For example, curl some sections towards your face and others away from your face.
- Move on to the next section: Once you've finished curling one section, clip it back up and move on to the next section. Repeat the curling process until all of your hair is curled.
Creating the Beachy Wave Effect
After you've curled all of your hair, it's time to transform those curls into beachy waves.
- Break up the curls: Use your fingers to gently break up the curls, running your fingers through your hair from the roots to the ends. This will help to loosen the curls and create a more natural, tousled look.
- Apply texturizing spray: To enhance the beachy wave effect, spray a texturizing spray or sea salt spray onto your hair. Hold the spray about 6 - 8 inches away from your hair and mist it evenly throughout. Then, scrunch your hair with your hands to distribute the product and add more volume.
- Finish with hairspray: To set your beachy waves and make them last longer, apply a light - hold hairspray. Hold the hairspray about 8 - 10 inches away from your hair and spray it evenly over your hair. Avoid spraying too much hairspray, as it can make your hair look stiff and unnatural.
Tips for Maintaining Your Beachy Waves
- Sleep on a silk or satin pillowcase: This can help to prevent your waves from getting flattened or frizzed while you sleep.
- Refresh your waves: If your waves start to lose their shape throughout the day, you can use a curling wand to touch up a few sections or spritz some texturizing spray and scrunch your hair again.
- Avoid over - styling: Too much heat styling can damage your hair over time. Try to give your hair a break from heat styling every few days and use heat protectant products whenever you do style your hair.
Conclusion
Creating beachy waves with a curling wand is a fun and easy way to change up your hairstyle. With the right curling wand and proper technique, you can achieve beautiful, long - lasting waves that will make you look and feel amazing.
If you're interested in purchasing a high - quality curling wand for creating beachy waves or have any questions about our products, we'd love to hear from you. Whether you're a professional hairstylist or someone who loves to style their own hair at home, our curling wands are designed to meet your needs. Contact us for more information and to start a purchase negotiation.
References
- "The Complete Guide to Hairstyling Tools" by Hair Styling Experts Association
- "Beachy Waves: The Ultimate Hairstyle" in Fashion Hair Magazine, Volume 15, Issue 3