

How do I use a flattening iron to create a messy bun?
Oct 22, 2025
As a supplier of high - quality flattening irons, I'm excited to share with you a unique and trendy way to use a flattening iron to create a messy bun. This style is perfect for both casual outings and more dressed - up events, offering an effortless yet stylish look.
Step 1: Prepare Your Hair
Before you start using the flattening iron, it's essential to prepare your hair properly. First, wash your hair with a good quality shampoo and conditioner that suits your hair type. For example, if you have dry hair, look for products that offer extra moisture. After washing, gently towel - dry your hair to remove excess water.
Applying a heat protectant is crucial at this stage. Heat protectants create a barrier between your hair and the high temperature of the flattening iron, reducing the risk of damage. There are various heat protectants available in the market. You can choose a spray, serum, or cream according to your preference. Simply apply it evenly throughout your hair, focusing on the ends which are more prone to damage.
Step 2: Straighten Your Hair
Now, it's time to use the flattening iron. I highly recommend our Salon Flat Iron. This flat iron is designed with advanced technology to provide even heat distribution, ensuring that your hair is straightened uniformly without any hot spots.
Start by sectioning your hair. You can use hair clips to divide your hair into manageable sections. Begin with the bottom sections first. Take a small section of hair, about 1 - 2 inches wide, and place it between the plates of the flattening iron. Close the iron gently and slowly glide it down the length of the hair from the roots to the ends. Repeat this process for each section of your hair until all your hair is straightened.
If you have thick or coarse hair, you may need to go over each section a few times. However, be careful not to over - heat your hair. Our Negative Ion Recommended Hair Straightener emits negative ions that help to seal the hair cuticles, making your hair smoother, shinier, and less frizzy.
Step 3: Create Waves for a Messy Look
After straightening your hair, we're going to add some waves to achieve that messy bun effect. Take your flattening iron and select a medium - sized section of hair. Instead of gliding the iron straight down, twist the iron slightly as you move it down the hair. This will create loose waves in your hair.
Continue this process throughout your hair, creating waves at different intervals. The key is to make the waves look natural and uneven. You can also vary the size of the sections you take to add more dimension to the waves.
Step 4: Gather Your Hair
Once you have created the waves, gather your hair at the nape of your neck. You can choose to gather it higher for a more elevated look or lower for a more relaxed style. Use a hair elastic to secure your hair into a ponytail. Make sure the elastic is tight enough to hold your hair in place but not so tight that it causes discomfort.
Step 5: Create the Messy Bun
Now, start twisting the ponytail around itself. As you twist, you'll notice that it forms a coil. Once you've twisted the entire ponytail, tuck the end of the ponytail under the coil to secure it. You can use bobby pins to hold the bun in place. Insert the bobby pins at different angles to ensure that the bun stays secure.
To make the bun look more messy, gently pull out some strands of hair from the bun. You can pull out a few strands from the front to frame your face and some from the sides and back to add a disheveled look.
Step 6: Finish with Hairspray
To set the messy bun and keep it in place throughout the day, use a good quality hairspray. Hold the hairspray about 8 - 10 inches away from your hair and spray it evenly over the bun and the loose strands. Our Safe Hair Straightener is designed to work well with various hair products, so you don't have to worry about any residue or damage.
Advantages of Our Flattening Irons
Our flattening irons are not only great for creating this messy bun but also offer many other benefits. They are made with high - quality materials that ensure durability. The temperature settings on our flattening irons are adjustable, allowing you to select the appropriate temperature for your hair type. Whether you have fine, medium, or thick hair, our flattening irons can provide the perfect amount of heat.
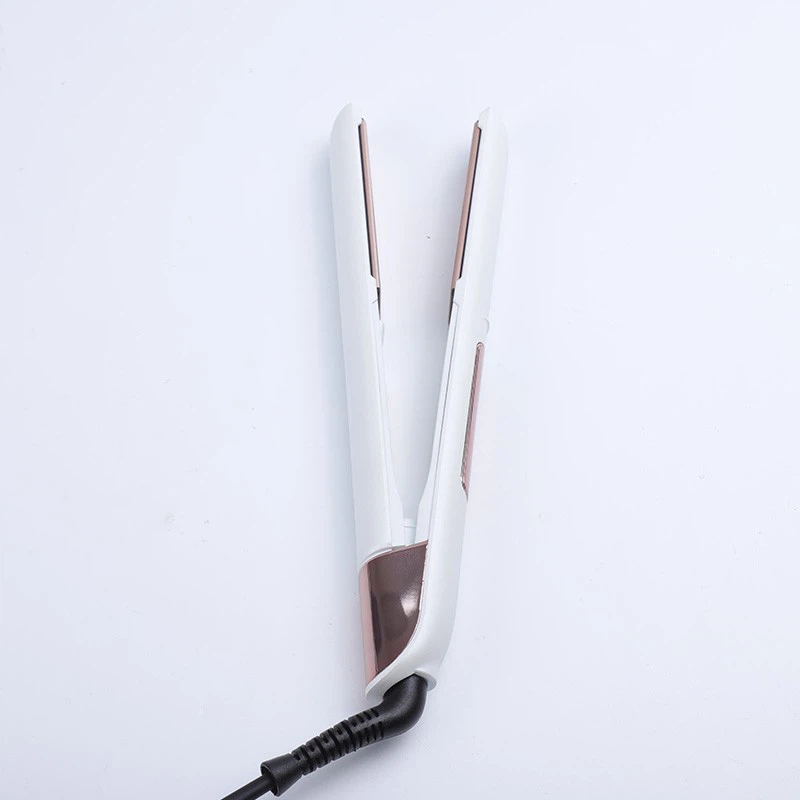

In addition, our flattening irons are easy to use. They have ergonomic designs that fit comfortably in your hand, reducing fatigue during use. The ceramic plates on our irons are smooth, which helps to prevent snagging and pulling of your hair.
Why Choose Our Products
As a professional flattening iron supplier, we are committed to providing the best products to our customers. We understand the importance of hair health and style. Our products are tested rigorously to ensure that they meet the highest standards of quality and safety.
We also offer excellent customer service. If you have any questions or concerns about our products, our dedicated team is always ready to assist you. We believe in building long - term relationships with our customers based on trust and satisfaction.
Contact Us for Purchase and Negotiation
If you're interested in purchasing our flattening irons or have any inquiries about our products, we welcome you to contact us for further negotiation. Our products are suitable for both individual consumers and businesses such as salons. We can offer customized solutions based on your specific needs.
Whether you're looking to enhance your personal style or stock up your salon with high - quality flattening irons, we have the right products for you. Don't hesitate to reach out to us and discover the difference our flattening irons can make.
References
- Hair Styling Basics: A Guide to Using Heat Tools, Hair Styling Association, 2022.
- The Science of Hair Care: Understanding Heat and Hair, Journal of Cosmetic Science, Vol. 35, 2021.
- Trends in Hair Styling: Creating Messy Buns, Fashion and Beauty Magazine, Issue 12, 2023.